

 README


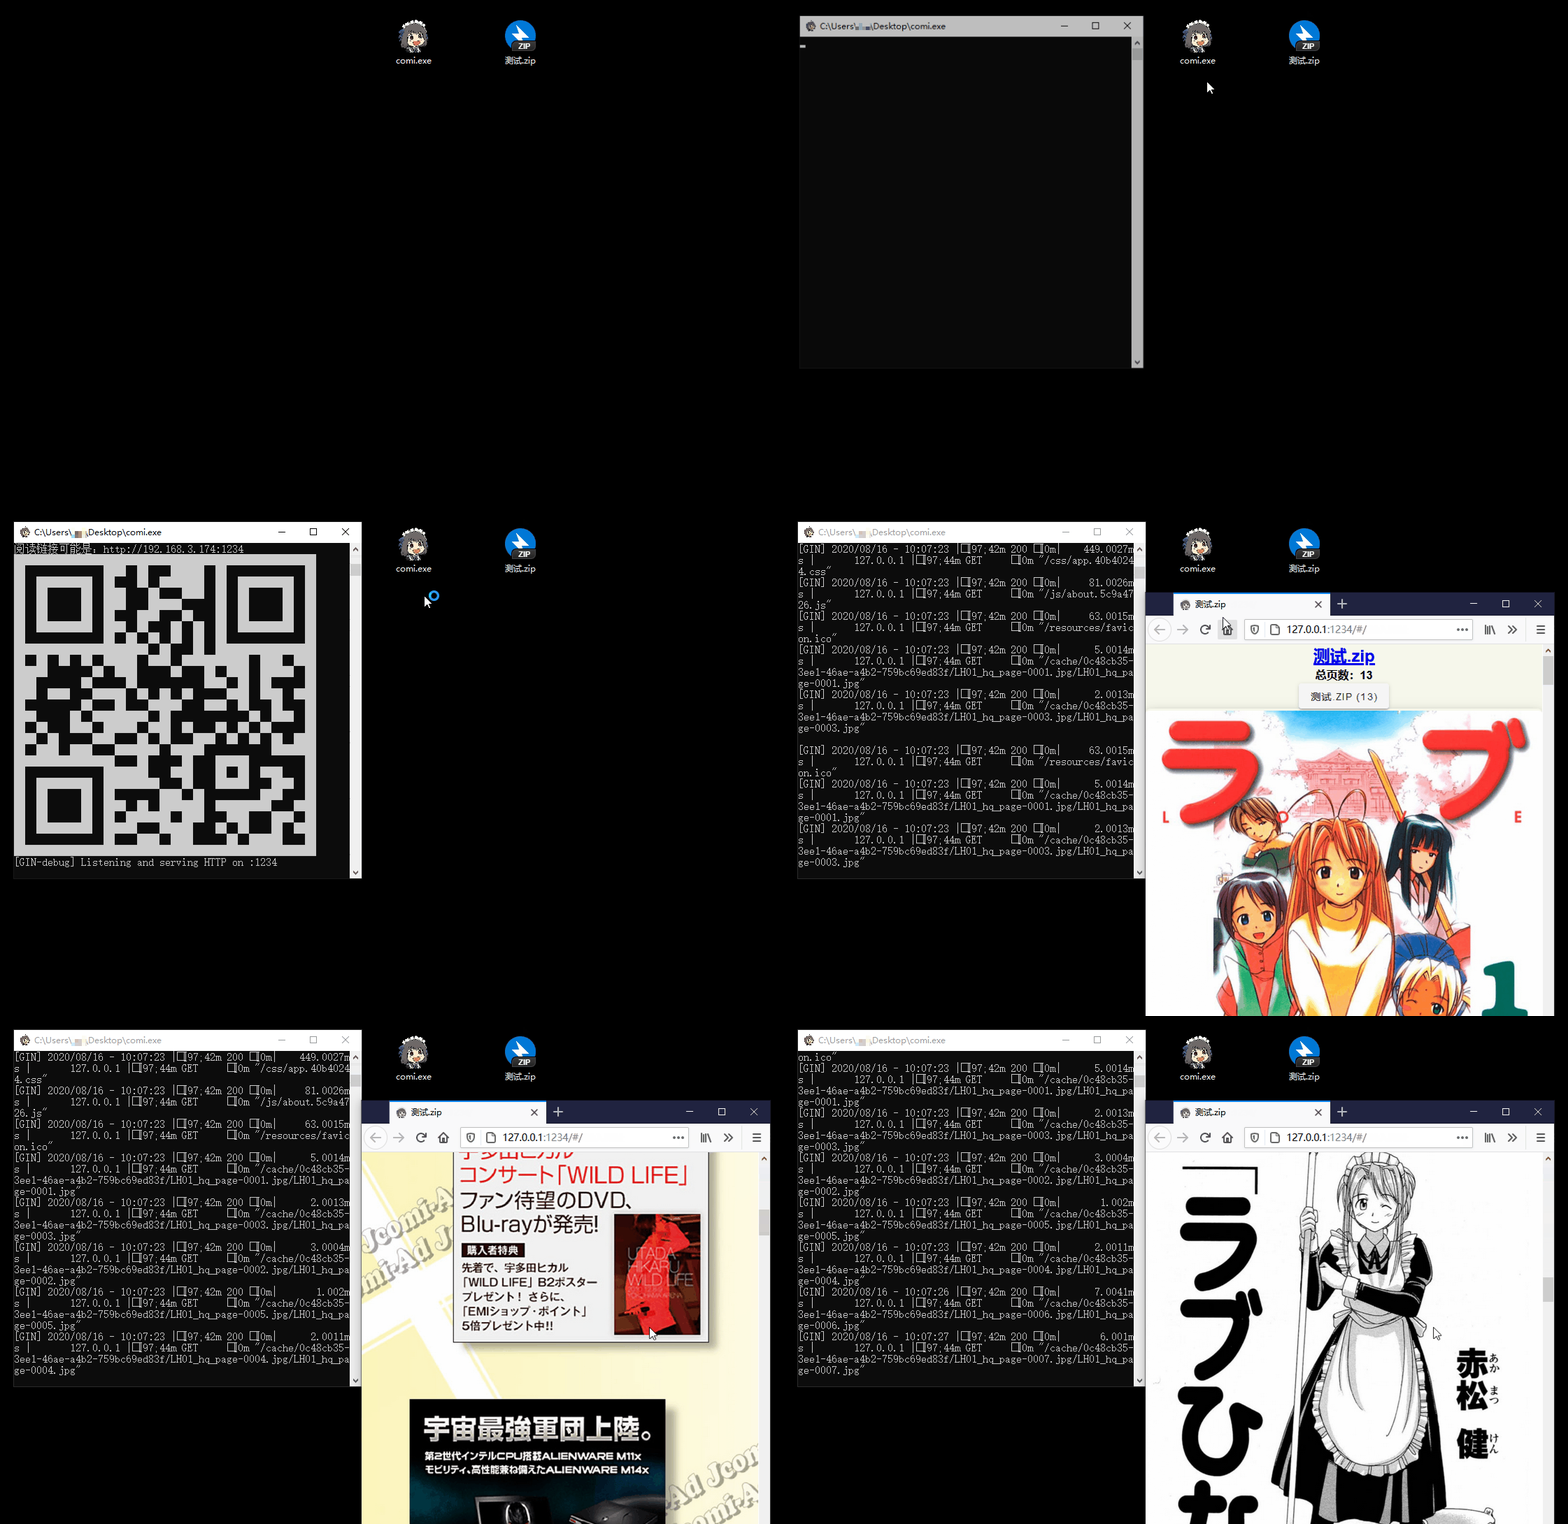
Try it Online
Features
- 📚 Multiple Format Support: Supports image folders and compressed files like
.rar,.zip,.tar,.cbz,.cbr,.epub - 📱 Easy Access: QR code scanning for mobile/tablet devices, drag-and-drop support for Windows
- 📴 Offline Mode / PWA App: Read ZIP/CBZ/RAR/CBR directly in your browser without uploading files
- 🐧 Cross-Platform: Compatibility with Windows, Linux, and macOS
- 📖 Diverse Reading Modes: Offers scroll, and page-turning modes
- ⚙️ Flexible Configuration: Command-line operation with
config.tomllibrary settings - 🖼️ Modern Image Formats: In addition to
jpgandpng, it also supports next-gen formats likeheicandavif - ✂️ Smart Optimization: Automatic image cropping and compression for bandwidth saving
- 🔄 Sync Reading: Synchronized page-turning across different devices
- 🔌 Plugin System: Built-in plugins like auto page-turn and clock, with custom plugin support
- 🎬 Media Playback: Built-in audio and video player
- 📥 Flexible Use: Supports remote Comigo libraries, batch image-folder downloads, and EPUB conversion
- 📜 Reading History: Automatic reading history tracking for easy continuation
PC/Mobile Sync:
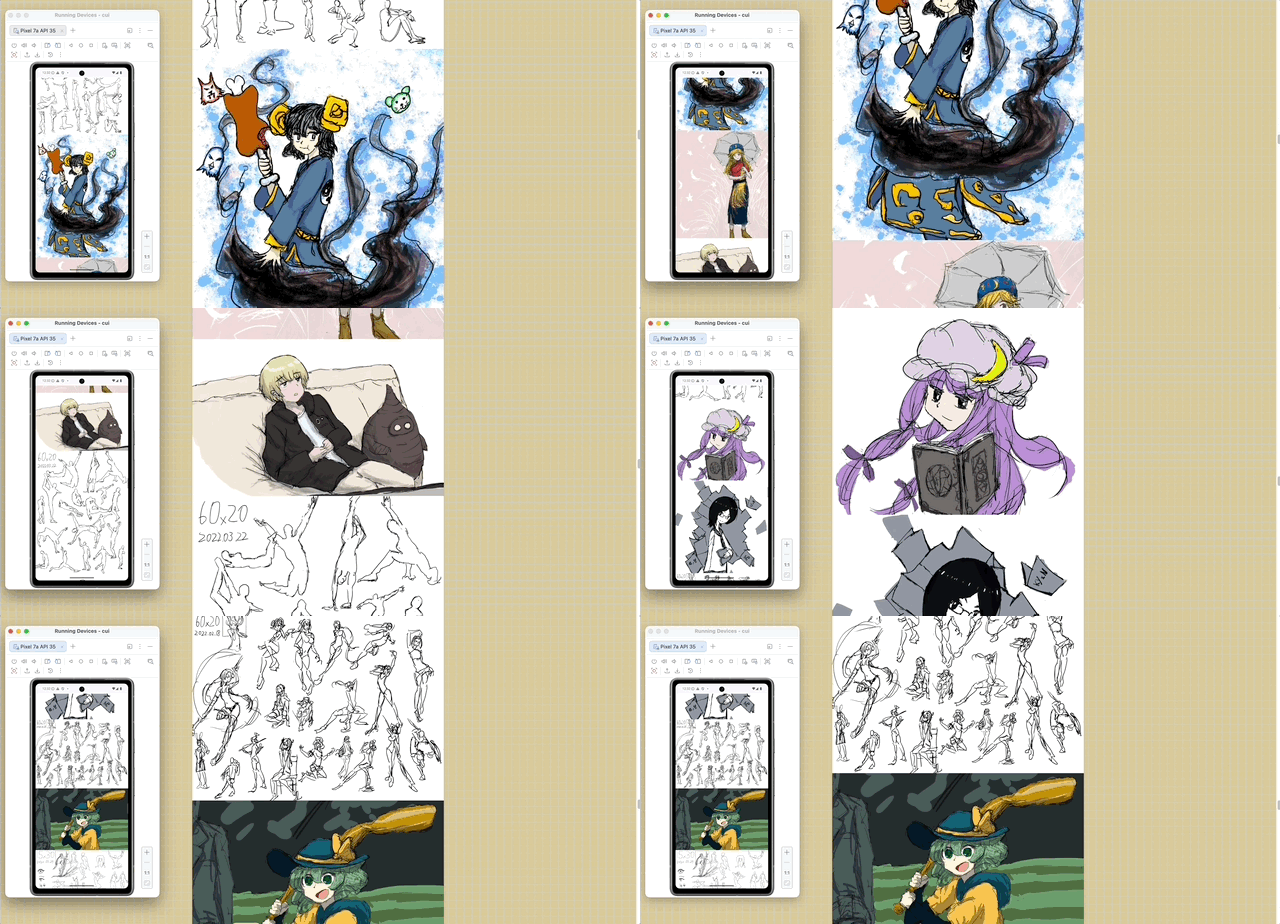
Omarchy status bar integration
Comigo supports Omarchy through the comigo-omarchy plugin, which controls local or remote services from the status bar.
omarchy plugin add https://github.com/yumenaka/comigo-omarchy --enable
Installation Guide
GUI Version (Recommended for Beginners)
| Version | System | Download |
|---|---|---|
| Tray | Windows 64-bit | comigo-tray_latest_Windows_x86_64.zip |
| Tray | Windows ARM64 | comigo-tray_latest_Windows_arm64.zip |
| Tray | macOS (Intel/Apple Silicon) | comigo-tray_latest_MacOS_universal.dmg |
| Tray | Linux 64-bit | comigo-tray_latest_Linux_x86_64.tar.gz |
| Tray | Linux ARM64 | comigo-tray_latest_Linux_arm64.tar.gz |
| Desktop | Windows 64-bit | comigo-desktop_latest_Windows_x86_64.zip |
| Desktop | Windows ARM64 | comigo-desktop_latest_Windows_arm64.zip |
| Desktop | macOS (Intel/Apple Silicon) | comigo-desktop_latest_MacOS_universal.dmg |
| Desktop | Linux 64-bit | comigo-desktop_latest_Linux_x86_64.tar.gz |
| Desktop | Linux ARM64 | comigo-desktop_latest_Linux_arm64.tar.gz |
💡 Which GUI package should I choose? Choose Tray if you want ComiGo to keep running in the background and manage it from the system tray. The Tray version starts the local Web service and opens the reader in your browser; the tray menu can open the browser, copy the reading URL, open config/library folders, switch languages, check for updates, and toggle Tailscale remote access. On Windows, it can also register folder context menus, file associations, and desktop shortcuts.
Choose Desktop if you prefer a regular app window. It wraps the same ComiGo reader in a Wails desktop shell and adds desktop-only actions such as selecting folders with the system picker and moving local source files to the system trash after confirmation. The current Desktop build does not include the tray menu or built-in Tailscale remote access.
macOS tip: If macOS says the app is damaged and should be moved to Trash, the downloaded file is usually not actually broken. Run this after moving the app to Applications:
xattr -dr com.apple.quarantine /Applications/comigo-desktop.app
Quick Install for CLI
# Recommended:
installer=$(curl -fsSL https://raw.githubusercontent.com/yumenaka/comigo/master/get.sh) && bash -c "$installer" --

# For users in Mainland China:
installer=$(curl -fsSL https://comigo.xyz/get.sh) && bash -c "$installer" -- --cn

# If you have Golang (go 1.23 or higher):
go install github.com/yumenaka/comigo/cmd/comi@latest
The installer defaults to $HOME/.local/bin and does not edit shell configuration. It checks both the available comi command and the destination file. If the requested version is already installed, a terminal prompt offers skip (default) or overwrite at the displayed destination; without a terminal it skips. Use --force to overwrite the same version non-interactively.
For the examples below, first download the script with curl -fSL -o get.sh https://raw.githubusercontent.com/yumenaka/comigo/master/get.sh.
bash get.sh --help
bash get.sh --version v1.2.22
bash get.sh --system                 # /usr/local/bin; root-owned, sudo when needed
bash get.sh --install-dir "$HOME/bin" # overrides COMIGO_INSTALL_DIR
bash get.sh --force                  # overwrite the same version
The destination remains explicit: an existing command elsewhere is not automatically replaced. Use --system or --install-dir to select its directory. The installer reports if PATH selects another copy and prints shell-specific PATH instructions. Explicit directories never silently fall back; symlink targets are rejected. To uninstall, remove only comi from the chosen directory (use the package manager if it manages that copy).
Downloads require the release asset checksums.txt; for older releases without it, explicitly add --skip-checksum to disable verification. make all generates the SHA-256 manifest after building all packages; publish it alongside the release assets. To regenerate it separately, run make checksums VERSION=vX.Y.Z.
CLI Version
| System | Download |
|---|---|
| Windows 64-bit | comi_latest_Windows_x86_64.zip |
| Windows ARM64 | comi_latest_Windows_arm64.zip |
| Windows 32-bit | comi_latest_Windows_i386.zip |
| macOS Intel | comi_latest_MacOS_x86_64.tar.gz |
| macOS Apple Silicon | comi_latest_MacOS_arm64.tar.gz |
| Linux 64-bit | comi_latest_Linux_x86_64.tar.gz |
| Linux ARM64 | comi_latest_Linux_arm64.tar.gz |
| Linux ARM32 | comi_latest_Linux_armv7.tar.gz |
| Linux 32-bit | comi_latest_Linux_i386.tar.gz |
| Debian/Ubuntu 64-bit | comi_latest_amd64.deb |
| Debian/Ubuntu ARM64 | comi_latest_arm64.deb |
💡 Note: CLI version suitable for server deployment and advanced users. Manual PATH configuration required after download.
Manual Installation
Download the latest version from the Releases page and add the executable to your system's PATH environment variable.
Docker Deployment
Quick Start with Docker
# Pull and run the latest image
docker run -d \
  --name comigo \
  -p 1234:1234 \
  -v /path/to/your/books:/data \
  yumenaka/comigo:latest
Visit http://localhost:1234 to access your library.
Using Docker Compose
- Download the
docker-compose.ymlfile - Edit the configuration as needed
- Start the service:
docker-compose up -d
Supported Platforms
linux/amd64- Standard x86_64 serverslinux/arm64- ARM64 servers (Raspberry Pi 4/5)linux/arm/v7- ARMv7 devices (Raspberry Pi 2-4)
Environment Variables
| Variable | Description | Default |
|---|---|---|
COMIGO_PORT |
Service port | 1234 |
COMIGO_USERNAME |
Login username (optional) | - |
COMIGO_PASSWORD |
Login password (optional) | - |
COMIGO_ENABLE_UPLOAD |
Enable file upload | true |
For more details, see the complete Docker documentation.
Usage
comi [flags] file_or_dir
Command Line Options
| Option | Short | Default | Description |
|---|---|---|---|
--config |
-c |
- | Specify config file path |
--port |
-p |
1234 | Service port |
--host |
- | - | Custom hostname/domain |
--local |
- | false | Local access only |
--max-depth |
-m |
5 | Max scan depth |
--open-browser |
-o |
false | Open browser on start |
--enable-upload |
- | true | Enable file upload |
--read-only |
- | false | Read-only mode |
--username |
- | - | Login username |
--password |
- | - | Login password |
--debug |
- | false | Debug mode |
Examples
# Open current directory
comi .

# Specify port and path
comi -p 8080 /path/to/manga
Configuration File
Comigo supports configuration file locations:
-
User Home Directory
- Windows:
C:\Users\username\.config\comigo.toml - Linux/MacOS:
/home/username/.config/comigo.toml - Default location read at startup
- Windows:
-
Program Directory
- Place
comigo.tomlin the same directory as the executable - Suitable for portable usage
- Place
-
Current Working Directory
- Searches for configuration file in the current directory when running commands
-
Custom Location
- Specify configuration file path using the
--configparameter
- Specify configuration file path using the
Development with mise
The committed mise.toml pins Go, Bun, GNU Make, templ, Wails v2, Air, sqlc, Ent, and goversioninfo. It uses mise's documented core, go:, and conda: backends; GNU Make is provided by conda:make, whose mise backend supports macOS, Linux, and Windows x64 without a separate Conda installation.
The initialization and task flow below was verified on macOS ARM64 with mise 2026.8.14. The Linux and Windows commands and platform limits come from the linked official mise and Wails documentation.
Install and activate mise
Follow the official mise Getting Started and installation documentation.
macOS and Linux:
curl https://mise.run | sh

# Bash
echo 'eval "$(~/.local/bin/mise activate bash)"' >> ~/.bashrc

# Zsh (use this instead on the default macOS shell)
echo 'eval "$(~/.local/bin/mise activate zsh)"' >> ~/.zshrc
Restart the shell after adding one activation line. Homebrew is also supported with brew install mise, though the official installer is mise's recommended method.
Windows PowerShell:
# Recommended; Scoop also adds mise shims to PATH.
scoop install mise

# Alternative
winget install jdx.mise
PowerShell activation is optional when the Scoop shims are available. To enable automatic environment switching, add the official activation command to your actual PowerShell profile:
New-Item -ItemType Directory -Force (Split-Path $PROFILE)
Add-Content $PROFILE '(&mise activate pwsh) | Out-String | Invoke-Expression'
Initialize the repository
The commands are the same in Bash, Zsh, and PowerShell:
git clone https://github.com/yumenaka/comigo.git
cd comigo
mise trust
mise install
mise run setup
mise doctor
mise install installs the pinned tools. mise run setup downloads Go modules and runs bun install; mise tasks also install any missing configured tools automatically. Run wails doctor once before desktop development. Wails still needs native platform components that mise cannot supply: Xcode Command Line Tools on macOS, WebView2 on Windows, or GCC, GTK3, and WebKitGTK development packages on Linux. See the official Wails v2 installation guide.
On Windows x64, normal mise tasks work from PowerShell. The release-oriented Make targets additionally use POSIX utilities such as sh, cp, rm, zip, and find, so run those targets in MSYS2 with its toolchain on PATH. The mise Conda backend does not currently list Windows ARM64; on that host, install Make through MSYS2 and run the release targets there. Docker, platform SDKs, dpkg, UPX, and similar release dependencies remain system-managed.
Common tasks and aliases
Run mise tasks to see the full list. Task aliases use the documented mise run <alias> form.
| Task | Alias | Purpose |
|---|---|---|
mise run setup |
mise run i |
Install Go modules and frontend packages |
mise run generate |
mise run g / mise run gen |
Format and generate templ output |
mise run frontend |
mise run fe |
Build unminified frontend assets |
mise run dev |
mise run d |
Start Air hot reload |
mise run run |
mise run r |
Generate templates and run the Web server |
mise run test |
mise run t |
Run all Go tests |
mise run sqlc |
mise run db |
Regenerate sqlc output |
mise run wails-dev |
mise run wd |
Start Wails v2 development mode |
mise run wails-build |
mise run wb |
Build the current platform's Wails app |
mise run release |
mise run rel |
Run the existing make all release matrix |
mise run clean |
mise run c |
Clean Make build output |
Direct Make targets remain available inside the pinned environment, for example mise exec -- make wails-prepare or mise exec -- make docker-help.
Feedback and Support
If you have any suggestions or encounter issues, feel free to:
Special Thanks
Thanks to the following open-source projects and their contributors:
- mholt
- spf13
- disintegration
- Baozisoftware
- And many more contributors
Star History
License
This software is released under the MIT license.
 Documentation


There is no documentation for this package.
 Source Files
 Directories

| Path | Synopsis |
|---|---|
|
archivewasm
command
|
|
|
comi
command
|
|
|
comigo
command
|
|
|
htmx
module
|
|
|
templ
|
|
|
common
templ: version: v0.3.1020
|
templ: version: v0.3.1020 |
|
common/svg
templ: version: v0.3.1020
|
templ: version: v0.3.1020 |
|
pages/error_page
templ: version: v0.3.1020
|
templ: version: v0.3.1020 |
|
pages/flip
templ: version: v0.3.1020
|
templ: version: v0.3.1020 |
|
pages/login_page
templ: version: v0.3.1020
|
templ: version: v0.3.1020 |
|
pages/manual
templ: version: v0.3.1020
|
templ: version: v0.3.1020 |
|
pages/player
templ: version: v0.3.1020
|
templ: version: v0.3.1020 |
|
pages/reader
templ: version: v0.3.1020
|
templ: version: v0.3.1020 |
|
pages/scroll
templ: version: v0.3.1020
|
templ: version: v0.3.1020 |
|
pages/settings
templ: version: v0.3.1020
|
templ: version: v0.3.1020 |
|
pages/shelf
templ: version: v0.3.1020
|
templ: version: v0.3.1020 |
|
pages/upload_page
templ: version: v0.3.1020
|
templ: version: v0.3.1020 |
|
plugins
templ: version: v0.3.1020
|
templ: version: v0.3.1020 |
|
releases
Package releases 为 CLI、托盘及状态 API 共享只读的版本查询逻辑。
|
Package releases 为 CLI、托盘及状态 API 共享只读的版本查询逻辑。 |
|
traffic
Package traffic 统计本进程提供 HTTP 服务时实际读写的正文,不统计协议开销。
|
Package traffic 统计本进程提供 HTTP 服务时实际读写的正文,不统计协议开销。 |
|
vfs
Package vfs 提供虚拟文件系统抽象层,支持本地文件系统和远程存储(WebDAV、SFTP等)
|
Package vfs 提供虚拟文件系统抽象层,支持本地文件系统和远程存储(WebDAV、SFTP等) |